How to install graphics card (GPU) on a desktop PC
Installing a GPU can be a relatively easy process if you have basic knowledge of computer hardware and are comfortable working inside a computer case. With our guide, you will be correctly installing your new GPU on your PC.
Installing a graphics card, also known as a GPU, is an essential step to enhance the visual performance of your desktop PC. Whether you are a gamer, video editor, or designer, a dedicated graphics card will provide better performance and allow you to run demanding applications smoothly.
How to install graphics card (GPU) correctly on your desktop PC
Before you start
- Check your computer's power supply unit (PSU) to make sure it can handle the power demands of the new graphics card. Check the recommended wattage for the GPU and ensure that your PSU meets or exceeds that requirement.
- Ground yourself by wearing an anti-static wristband or by touching a grounded metal surface to avoid any damage from static electricity.
- Uninstall the current graphics card driver from your computer to avoid any conflicts.
If you have completed initial steps, it is time to install your graphics card. Follow the steps below:
Step 1: Gather the required tools
Before starting the installation process, ensure you have the following tools:
- The new graphics card
- Screwdriver
- Anti-static wristband (optional)
- User manual
Step 2: Open the computer case
The graphics card is installed in the PCI Express slot, which is located on the motherboard. To access the slot, open the computer case by removing the screws or clips on the back panel.
Step 3: Remove the old graphics card (if applicable)
If you have an existing graphics card, you need to remove it before installing the new one.
- Locate the graphics card in the PCI Express slot.
- Press the locking tab located on the side of the slot to release the card.
- Gently pull the card out of the slot and put it aside.
Step 4: Insert the new graphics card
- Carefully remove the new graphics card from its packaging and line it up with the open PCI Express slot.
- Push the card firmly into the slot until it clicks into place. Ensure that the locking tab is fully engaged.
- Screw in the retention bracket at the back of the card to secure it in place.
Step 5: Connect power cables
Many graphics cards require additional power to operate.
- Locate the PCI Express power cables that came with the graphics card and connect them to the card.
- Connect the cables to the power supply unit to provide additional power to the GPU.
Step 6: Replace the computer case
Once you have completed the installation process, replace the computer case and screw in the screws or clips to secure it in place.
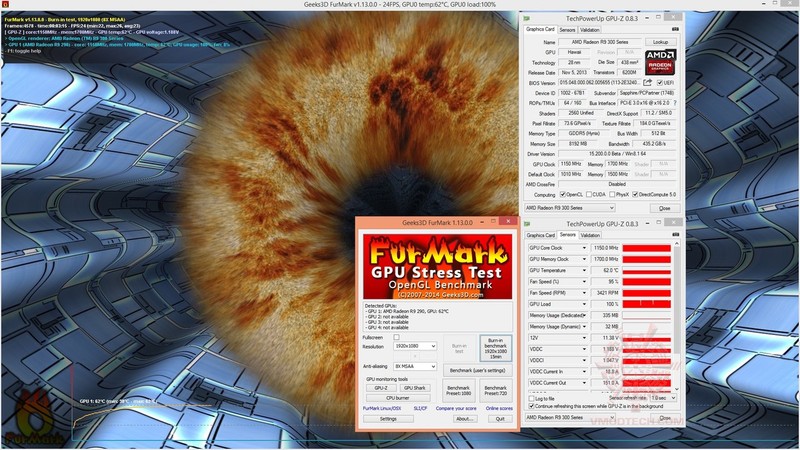
Step 7: Install the latest drivers
After you have installed the graphics card, you need to install the latest drivers to ensure that it functions correctly. Run a benchmark test such as Furmark or play a game to ensure the graphics card is operating at optimal levels.
In conclusion, installing a graphics card on your desktop PC is a straightforward process. Following the steps outlined above will ensure that the graphics card is installed correctly and is running at peak performance.


