How to install a SATA SSD in a desktop PC? A detailed guide for correct installation
Although upgrading your hard drive may appear to be a challenging undertaking, it is not difficult if you have some basic knowledge. You will learn how to install a SATA SSD and maximize your PC's performance in this guide.
Installing an SATA SSD (Solid State Drive) in a desktop PC can provide a significant performance boost and improve the overall user experience. SATA SSD offers a number of benefits over traditional hard disk drives (HDD) in terms of performance, reliability, and durability.
SSDs use flash memory technology to store data, which allows them to boot up and load programs much faster than HDDs. This can result in a significant improvement in overall system performance and user experience.
Overall, SSDs provide a noticeable boost in system performance and are an excellent choice for those who want faster, more reliable storage for their computer.

Installing a SATA SSD in a desktop PC is generally an easy process that can be done by most users with a basic understanding of computer hardware. With the right tools and instructions, you can install a SATA SSD in your desktop PC in just a few steps.
How to install a SATA SSD in a desktop PC? A step-by-step guide
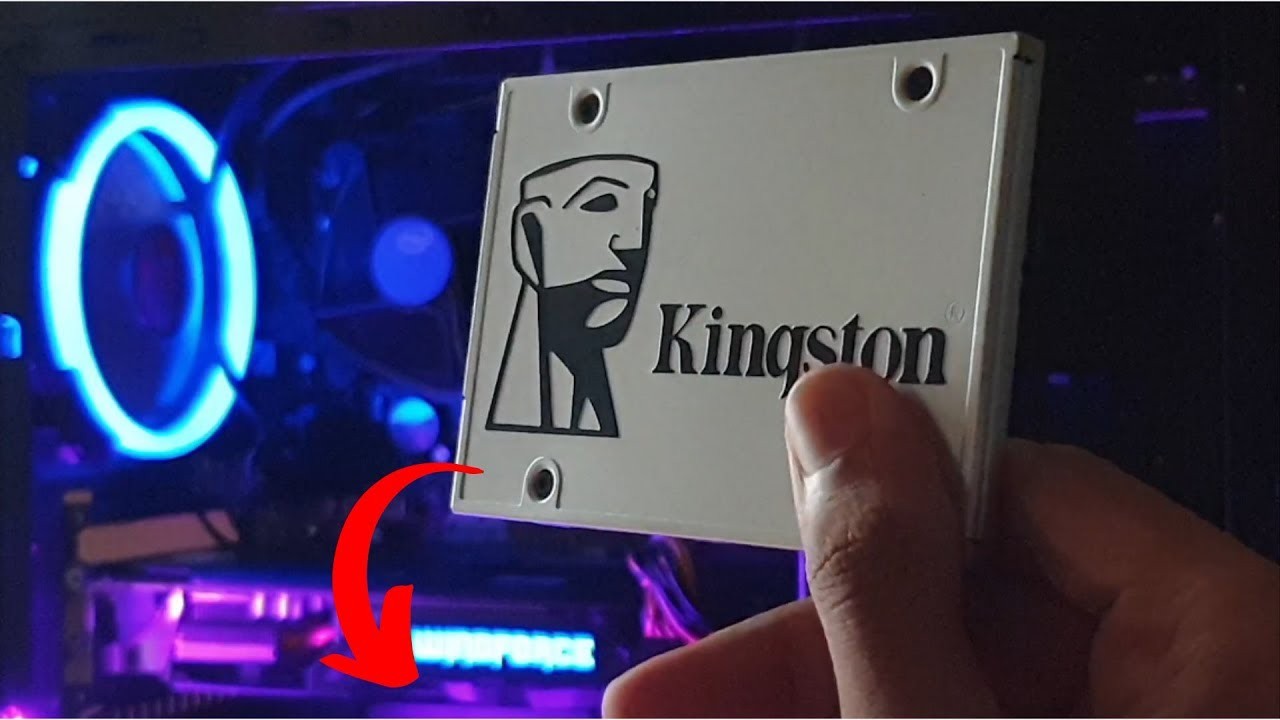
Step 1: Purchase a SATA SSD
First, you need to purchase a SATA SSD that is compatible with your desktop PC. You can choose from various brands, capacities, and types of SSDs available in the market.
Step 2: Backup data
Before you proceed with the installation, make sure to backup all your important data on an external hard drive or cloud storage to avoid any data loss.
Step 3: Shut down your PC
Make sure your PC is turned off, unplugged from the power source, and all cables are disconnected.
Step 4: Open the case
You will need to open the PC case to access the internal components. Most cases have screws that secure the side panel, remove them and carefully slide the panel out.
Step 5: Identify the storage drive bay
Locate the storage drive bay in your PC. It is usually located at the bottom front of the case, although this may vary depending on the case.
Step 6: Remove the existing hard drive
If you are replacing your existing hard drive with an SSD, disconnect all cables, including power and data cables, and remove the drive from the bay.
Step 7: Install the SSD
Mount the SSD into the storage drive bay using screws or brackets, depending on the case design. Make sure the drive is securely fixed in the bay.
Step 8: Connect the power and data cables
Connect the power and data cables to the SSD. Your PC should have a SATA data cable, which connects the SSD to the motherboard, and a SATA power cable, which provides power to the drive.
Step 9: Close the PC case
Once all cables are connected, replace the side panel of the PC case and secure it with screws.
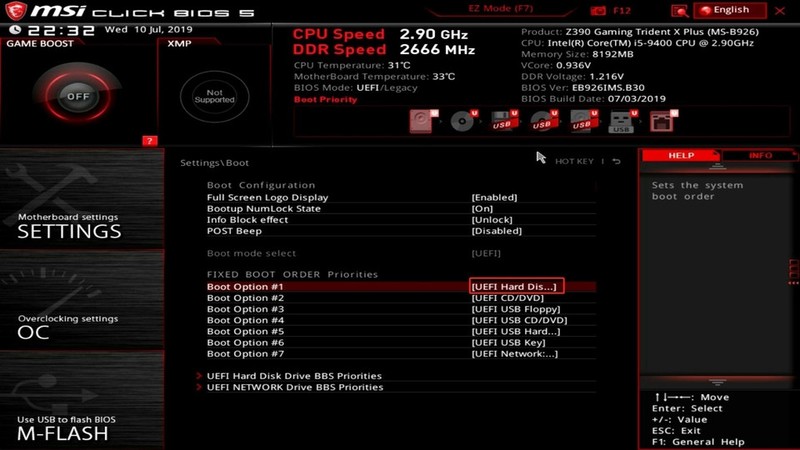
Step 10: Turn on the PC and prioritize boot drive in the BIOS settings
Plug in the power cord and all cables, and turn on your PC. It should recognize the new SSD automatically, and you can configure it through your operating system. If you are installing a new operating system, make sure to set the SSD as the boot drive in the BIOS settings.
With our guide, you have successfully installed an SSD in your desktop PC, which should result in improved performance and faster boot and load times.


