How to install a hard drive (HDD) in a desktop PC
We have covered a step-by-step guide for those who want to install a hard drive (HDD) in a desktop PC.
Installing a hard drive (HDD) in a desktop PC can be relatively easy with some basic knowledge and experience working with computer hardware. If you are familiar with how to open the computer case, identify the available drive bays, and connect cables to the motherboard, installing an HDD can be a straightforward process.
A step-by-step guide for installation of a hard drive (HDD) in a desktop PC
1. Gather the necessary tools and materials. You will need a Phillips head screwdriver and the hard drive you wish to install.
2. Shut down the computer and unplug it from the power source.
3. Open the case of the desktop PC. Depending on the case, this may require removing screws, sliding a latch, or pressing a button to release the case.
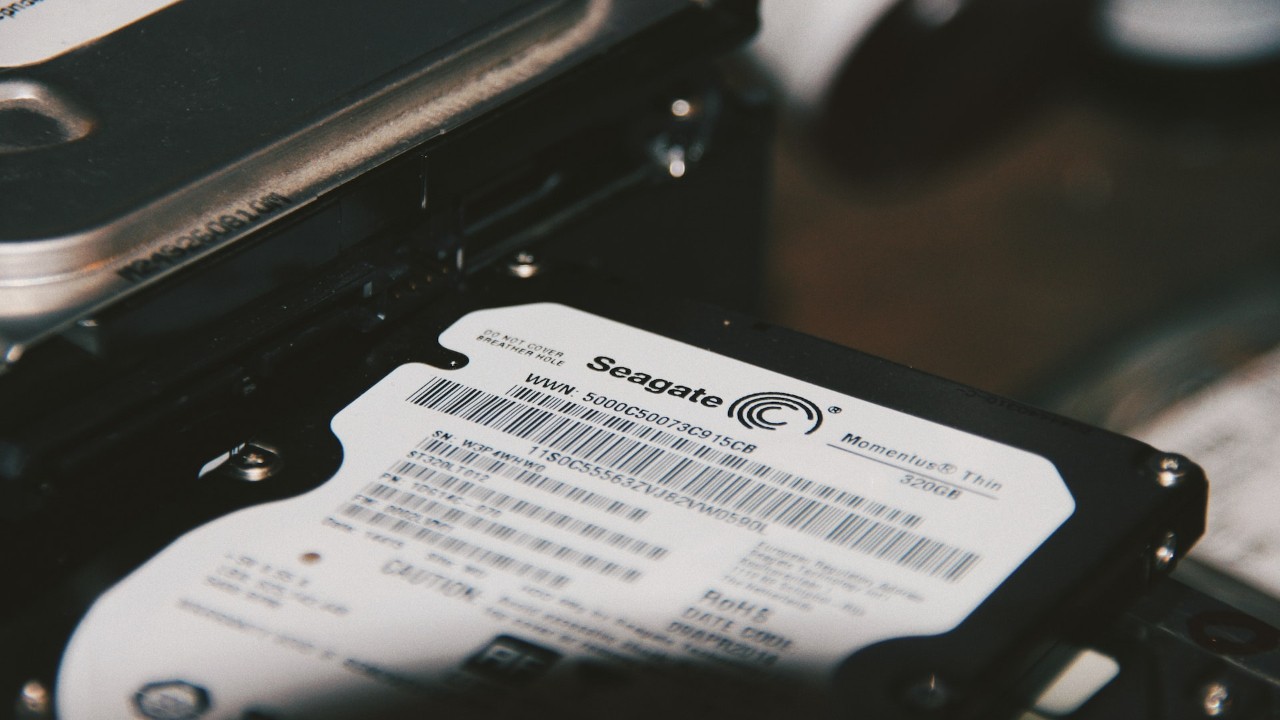
4. Locate the hard drive bays in the computer case. These will typically be located at the front of the case, and will likely have removable drive trays.
5. Identify an available drive bay that matches the size of the hard drive you want to install. Most hard drives are 3.5 inches in size.
6.If there is no available drive tray in the bay you have selected, remove a tray from another bay by pushing or sliding a latch, or removing any screws that secure the tray.
7. Carefully mount the hard drive in the tray, lining up the screw holes on the drive with the holes on the tray. If the tray has mounting holes on both sides, make sure to align the drive so that the connectors are on the same side as the cable ports on the tray.
8. Secure the hard drive to the tray with screws. Typically, four screws are used to secure the drive to the tray.
9. Slide the tray with the hard drive back into the drive bay, making sure that any guides or alignment rails are properly lined up.
10. Connect the hard drive to the motherboard using a SATA cable. One end of the cable will connect to the hard drive, and the other end will connect to the motherboard. Make sure the cable is connected firmly.
11. If the hard drive requires additional power, connect a SATA power cable from the power supply to the hard drive.
12. Close the computer case and secure it with screws, latches, or other fasteners.
13. Plug in the computer and power it on.
14. Check that the computer recognizes the hard drive. You can do this by opening the computer's Disk Management utility and looking for the new hard drive in the list of available drives. If the hard drive is not recognized, double check that the cables are connected properly and that the drive is secured in the tray.
That's it! Your hard drive is now installed and ready to use.
 How to install memory (RAM) into a desktop PC?How To


