How to install a power supply (PSU) in a desktop PC? A detailed guide for perfect installation
Having a hard time while installing power supply (PSU)? Do not worry. With our guide, you will able to install a PSU perfectly.
Installing a power supply (PSU) in a desktop PC can be relatively easy if you have some basic knowledge and experience working with computer hardware. The process of installing a PSU involves opening the computer case, removing the old PSU, installing the new PSU, and connecting all the necessary cables.
The actual steps may vary slightly depending on the PC case and PSU model, but most manufacturers provide detailed instructions that come with the PSU. In addition, we have covered a detailed guide for a perfect PSU installation. Let's check it together.
A step-by-step guide for power supply (PSU) installation
1.Gather the necessary tools
To install a PSU, you will need a Phillips head screwdriver and possibly some zip ties to organize the cables.
2. Turn off the PC and unplug it from the power source
Before beginning any work on the PC, make sure it is powered off and unplugged from the wall outlet to avoid any electrical accidents.
3. Open the case
Most desktop PC cases can be opened by removing screws or pressing buttons on the back or side of the case.
4. Locate the PSU
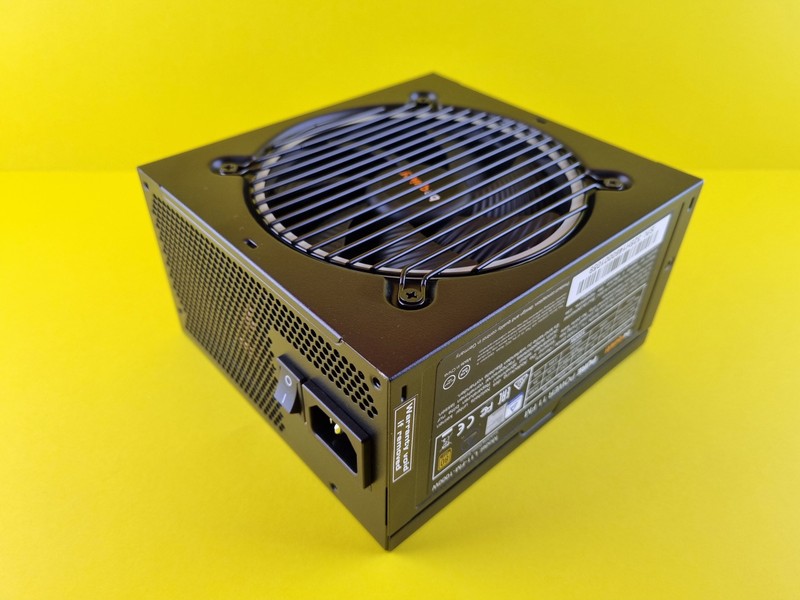
The PSU is typically located at the back of the PC case and is secured by four screws.
5. Remove the old PSU
To remove the old PSU, disconnect all the cables from the motherboard, graphics card, hard drive, and any other components that are powered by the PSU. Then, unscrew the four screws that hold the PSU in place and gently pull it out of the case.
6. Install the new PSU
Take the new PSU and carefully place it in the same location as the old PSU. Secure the PSU with the four screws that were removed in the previous step.
7. Connect the cables
Connect the cables from the new PSU to the motherboard, graphics card, hard drive, and any other components that require power. Make sure the cables are connected securely and organized with zip ties if necessary.
8. Close the case
Once all the cables are connected, close the PC case by putting the side panel back on and securing it with screws or buttons.
9. Turn on the PC
Plug in the PC to the power source and turn it on. If everything is connected properly, the PC should power on without any issues.


